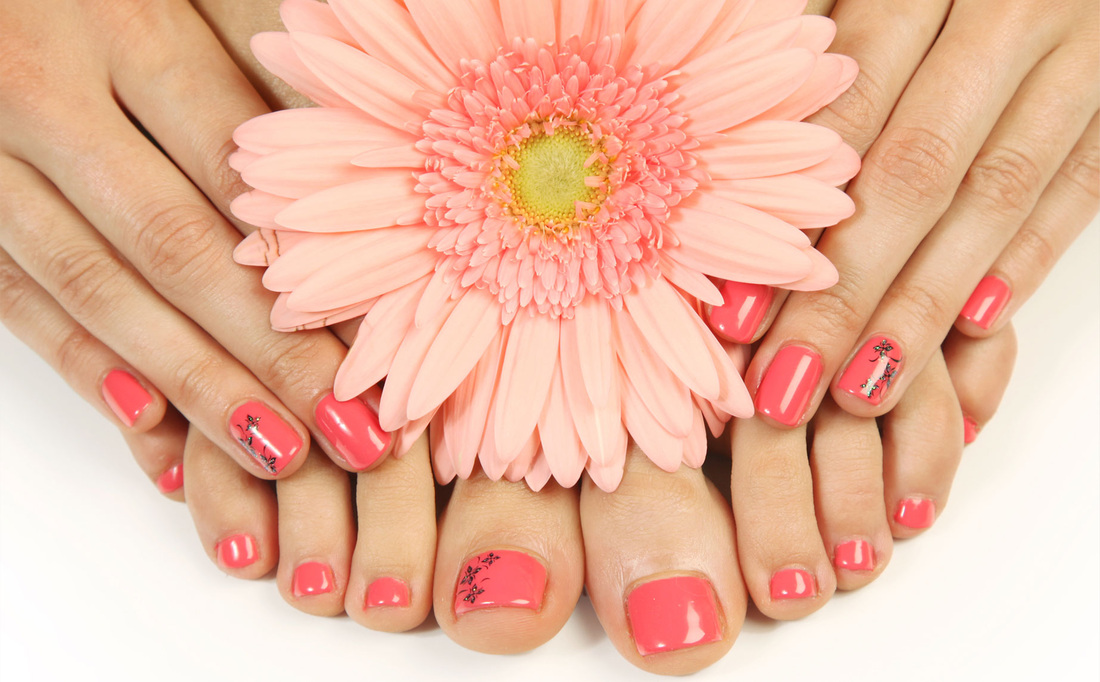
The girls guide to good nails!
Keep your hands looking great with these at-home manicure tips from nail technician Chonya Alvarez from The Spa at Saddlebrook in Tampa, featured in Marie Claire!
1. Start by removing old polish. For natural nails, use a nonacetone remover.Try Cutex® Essential Care™ Advanced Nail Polish Remover Pads.
2. File nails to desired shape. What looks modern now is a shortish nail,straight across the top with rounded edges. File your nails in one direction starting at the edges and moving toward the top.
3. Soak in soapy water for a few minutes to soften cuticles.
4. Dot a cuticle cream on the cuticles and rub in. Try Creative Nail Design Sea Therapy Cuticle Eraser.
5. Use an orange wood stick (available in drugstores) to push back cuticles.Be sure not to cut your cuticles, which can cause infection and damage the nail.
6. Massage hands with a hand lotion for extra moisture. Try Creative Nail Design Solar Silk.
7. Wipe nails with a damp cloth to remove excess oils.
8. Apply a base coat. Let dry for one minute. Try Creative Nail Design Sticky.
9. Apply two coats of your favorite color. Always apply polish by starting on the side of the nail. You should be able to cover the nail in three stokes, one on each side and one in the middle.
10. Apply a top coat. Try Creative Nail Design Speedy. (Remember: If you use a fast-dry top coat, your polish will not last as long.)
Read more: Do It Yourself Manicure - Marie Claire
Follow us: @marieclaire on Twitter | MarieClaire on Facebook
Visit us at MarieClaire.com
Why not try out a french manicure? Chanel 4 gave these great tips on how to get the perfect french manicure all on your own!
1. Remove any old polish.
2. Decide what length and shape you want your nails to be. If they need trimming, always cut from one corner of the nail to the other, using small, even snips. Never start with a large cut in the middle - this can cause your nails to crack or split.
3. File your nails using long, even strokes. Short motions can weaken nails and cause splitting.
4. Take a buffing block and using the rough side, gently stroke the surface of the nail, removing any ridges. Use the softer side for a few seconds to create a smooth finish.
5. Cuticles need addressing next, so dip the fingers of one hand in a bowl of warm water to moisten and soften the skin. Lightly towel off. Use an orange stick to gently push back your cuticles.
6. Apply a thin layer of base coat to each nail using wide, even strokes from base to tip. Let it dry completely.
7. Carefully draw a thin line of white varnish across the natural tip of the nail. If it looks uneven, let it dry, and put a second neater line over it. You can fix any errors with a cotton bud dipped in varnish remover.
8. Brush on the pink or nude varnish. Make sure there's not too much on the brush, and stroke from one side of the nail to the other. You can put on more layers if you need to deepen the colour, but always make sure the first layer is touch-dry before you apply a second.
9. When the colour has dried completely, apply topcoat.
10. To promote healthy nail growth, regularly massage nail and cuticle oil into your fingers. I use Sally Hansen Diamond Strength Cuticle and Nail Oil(opens in a new window).
http://www.channel4.com/4beauty/make-up-skin-care/make-up/make-up-tips/how-to-do-a-french-manicure
Now youve got your finger nails looking great why not do your toes to match. Heres a great 'how to' pedicure i found on thebudgetfashionista.com!
1) Set the Vibe
Gather all your pedicure tools and organize them on a coffee table next to a comfortable chair. Fill the large bowl with hot water and place the bowl in front of your chair. Dim the lights or turn them off completely and get ready to work by candlelight.
2) Soak and Soothe
Remove old nail polish and then clip and file nails. Pour a sweet smelling oil or gel into the water, which should be warm by now. Soak your feet in the bowl of water for 10-15 minutes. Make sure to take them out before they prune up! Use the pumice stone periodically to help shed your dry “winter” skin.
** Depending on the degree of roughness, you might need to repeat these steps to get your feet in flip flop shape.
3) Treat Your Feet
Pat your feet dry and using the nail file smooth any rough edges that you missed before soaking. Apply peppermint lotion. Use cotton balls to separate your toets. Apply base coat, top coat, prop your feet on the table, put a good DVD in and relax, relax, relax
http://www.thebudgetfashionista.com/archive/how-do-your-own-pedicure/
This is great for girlie nights or even quiet pamper nights in on your own, don't forget the popcorn!
